
Hi All,
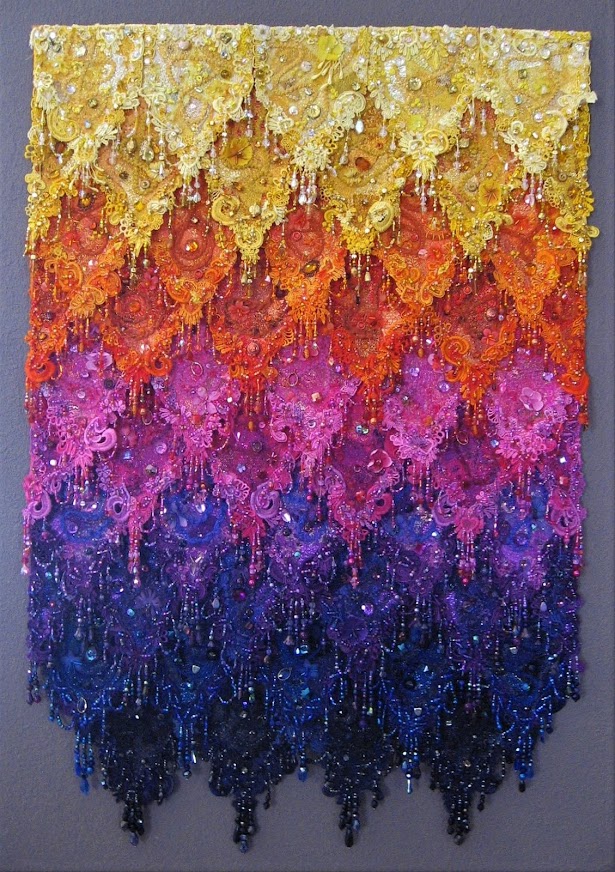
This post isn't about a doll. It's to show you a textile wall hanging I made. I call it "Magical Scales". It took me about 2 years to finish it. I didn't work on it all the time -- just at times I didn't have anything else to do.
When I make wall hangings, I like to design something where I can use up as much material I already have and not have to buy anything. And, because I know I will be working on it over a long period of time, I like to design something that is made up of small pieces I can work on in my hand. (This is the kind of project I can carry around & do to keep my hands busy when I have to wait an hour with nothing to do).
When I decided to design something with "scales", my first thought was a mermaid. But, I wanted it stronger-looking so I thought of a "dragon". But, in the end it didn't look like either of those, so I just called it "scales". ---I added the "magic" part later.
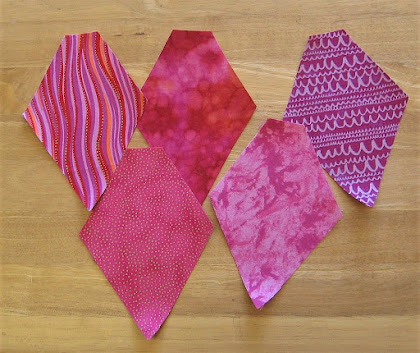
To start, I made a sketch. This told me how big it was to be, how many rows of different colors I wanted, how many scales (53 scales total!) and, ultimately, what the size was of each diamond-shape scale. The sketch also told me that in every other row I would need "half-diamond" scale at each end. (Sorry, I can't find that sketch to show you!)
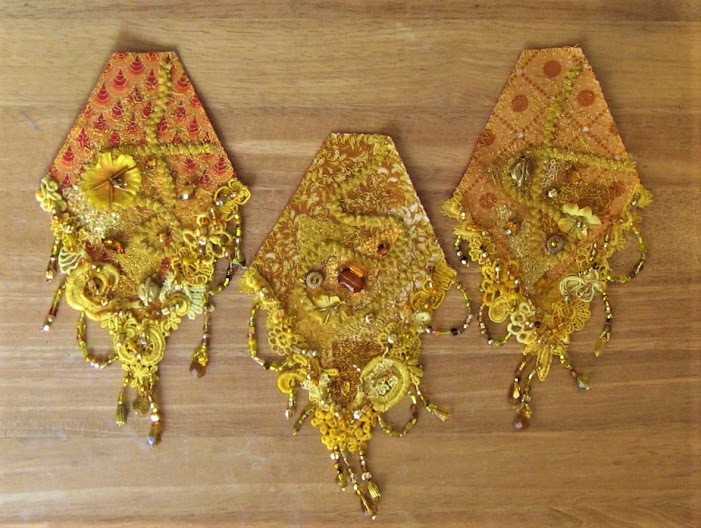
I sorted out all my cottons into the color groups I wanted. 6 main colors: yellow, orange, magenta, purple, blue, and black, --going from very light to very dark. Each diamond scale is a layer of printed cotton fused to a backing of red heavy-weight twill cotton.
After cutting and fusing each scale, I fused some metallic and glittery fabric to the center of each scale. To hold down this little collage of fabrics, I machined embroidered over all that with some metallic threads.

I wanted to edge the scales with some lace. So, next step was to dye all the scrapes of white venice lace pieces & trim I had. I made a bath of pale yellow, dyed a handful of lace, then added more yellow to the dye bath, and dyed more lace. To that dye bath, I added some orange dye, and so on and so on..... Some of the lace was more polyester than cotton and didn't dye too well. With those pieces, I painted over the dye with some Dye-Na-Flow ink to get the color I wanted. I used a variety of shades of each color for the edges. I glued the lace pieces onto the edges (knowing I would stitch it down when I stitched on all the beads).
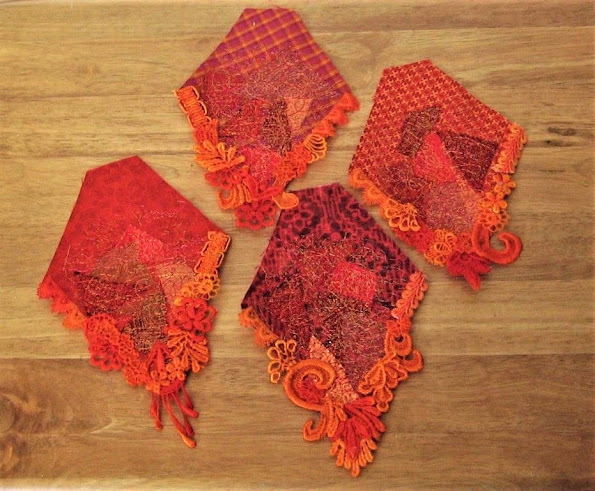
I added some texture to the center of each scale by couching down some thick yarns and adding silk flowers and large beads & gemstones of whatever I had.

Next, I stitched down small rows of pony-size beads in a random pattern over all the lace.
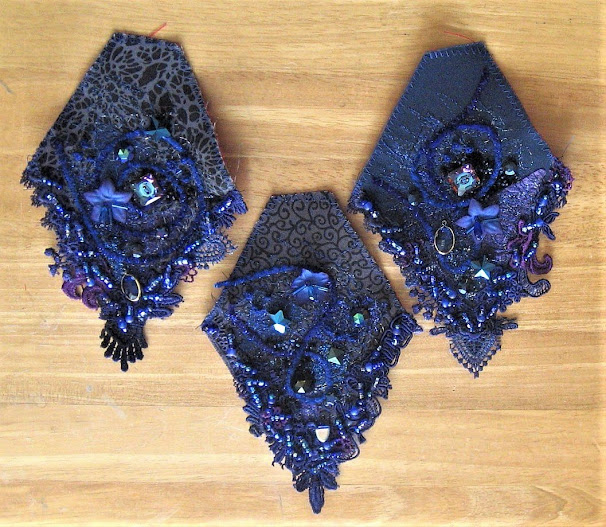
The last embellishment to each scale were the beaded dangles and swags on the edges.
With the scales finished, I could assemble the piece. I used the same red twill for the backing. I knew I couldn't get this under the sewing machine, so I glued each row on, careful that each row overlapped the row under it, and that all the points were straight. After all the scales were glued on, I went back and hand-stitched each scale down to the backing fabric.
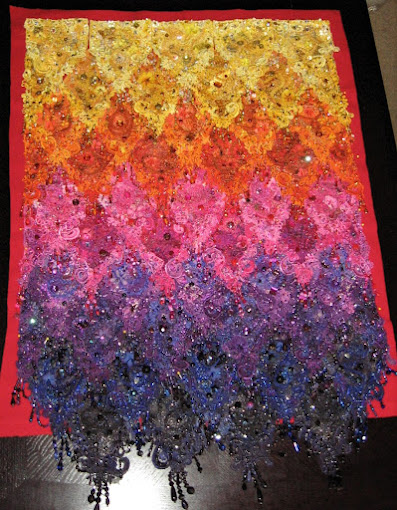
I hemmed the backing by hand, then added a black cotton lining to the back of that. I added a loop of fabric for the hanging bar, and it was done.


4 comments:
Beautiful!! I love seeing your work!
Ellie
Thanks Ellie!
Wow!!! I love it :)
That's a master piece for sure.
Post a Comment