
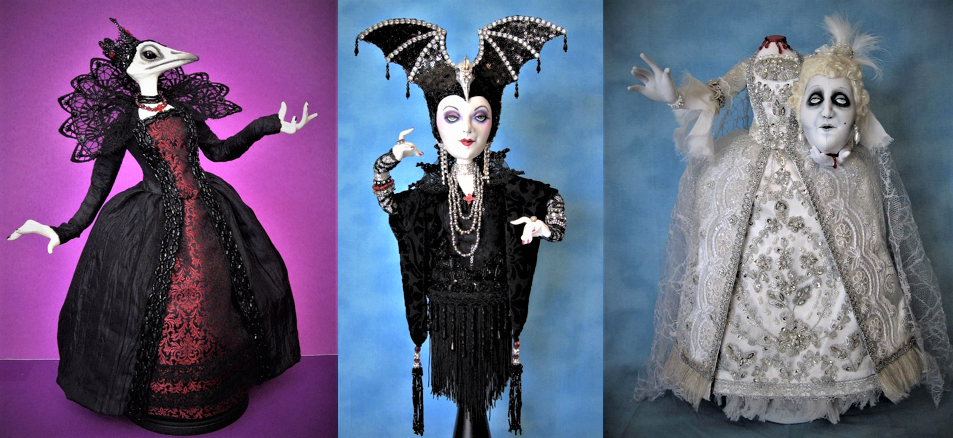
Okay, today I'm going to show you how I color the face of my Evil Queen.
As you can see by my last post, I don't to much needle-sculpting. I like to do a lot with shading and coloring to create a face.
My tools are my colored pencils (Berol Prismacolor, 72 color set), my chalks (Inkadinkado blending chalks, soft tones & bold brights), and my gel pens (Gelly Rolls)

First, I start with the shading. Since her face is a pale green color, I'm using a medium grey colored pencil to start my shading. I shade all around the eye socket, down the side of the nose, under the nose, the outside of the cheeks, under the mouth, and the smile lines.
I also block in the eyebrows and mouth line.


To make the cheeks more pronounced, I go in (at the neck hole) with a little more stuffing. I try to put more stuffing in the cheeks, ON TOP of the threads inside the head.

At this point, I've also blended the shadow color into the fabric with a Q-tip to soften the lines.
Now, I add some white color for highlight. I'm using my chalk for the highlight, as white chalk is more intense than pencil. I highlight down the center of the nose (this helps hide the center seam line), the nostrils, the chin, the cheeks and the brow bone just below the eyebrows.


I outline the lips with red pencil.

To outline the Iris (the colored part of the eye), I use a circle template. You can get these at any art or craft store (I've even seen them at the office supply store) in the drafting department. Using a template will insure the circles are perfect and the same size.
I've also painted the lips at this point (using Wild Raspberry and Iridescent Plum). At this point, I've given the eyes and lips 3 coats of paint.

Now, I paint the iris brown, and add more color to the face.
(Ever notice that all female Disney Villains have vivid eyeshadow and dark lips??)
I've used a purple/magenta colored pencil above and below the eyes, and a small amount of pink chalk to blush the cheeks. Again, after applying the color, I go back and blend it in with a Q-tip.

(Don't make the mistake of putting the blush in the center of the cheek. For whatever reason, it always looks like a bruise!)Notice that you only see half of the iris? Because I gave her eyelids, the rest of the iris is under the lids. Most beginning doll makers forget to add the eyelids.
Now it's time to use the gel pens and define everything. I outline the eyes, and the eye lid crease, the eyebrows, the lips, and the mouth line. And, I draw in the nostrils and the eye pupil. I'm mostly using a black colored pen, with some brown and purple around the eye. I draw in a small wrinkle line under the eyes. I also draw in some eyelashes at the outside edges of the eye. (NEVER put lash lines on the inside corners of the eye!)


I sew the head to the body, and add her black hood, her horns, and trim around the face. Here's the finished head:


I've also added some more color to her face. There's more pink in her eyeshadow, and some yellow highlight on the brow bone. Also, a small dot of white highlight in her eyes.Hope you enjoyed that.
Next, I'll show you how I made the costume.
GO SEE THE MOVIE, "MALEFICENT"!!!
14 comments:
It sure looks easy when you do the tutorials! Thanks for all the tips. It is so much clearer with the explanation along with the pictures. The next face I do I am certainly going to try it out.
Amazing work Arley and I agree with Pam, it looks so easy when you do it! Incredible the expression you get with that one stitch to give her her evil smile. Thanks so much for sharing your techniques. Deb
Thanks Pam and Deb! It IS easy -- but, I've been doing this for almost 20 years!
Wow!! Fabulous:) I've never used chalks before. I'll give them a try. I would never have thought of using dimensional paint either. I have some of those so now I must give them a try. Thank you:)
Hi Mary Ann,
The chalks I use - "Ink-a-dink-a-do", is made for stamps, so look for it in the stamp aisle in the craft store. I like these because you get a broad range of colors in a small pallet.
Great tutorial Arley. I love your doll faces as they are so expressive. I must go and see the movie now!
Thank you for such a clear and concise tutorial. It's a great help to us new dollmakers.
Great tutorial - I have trouble with faces but this one is wonderfully evil. Great talent.
I have spent hours looking at your wonderful creations. What talent and creativity you possess. Your dolls are so amazing and inspring.
Thanks for your generosity in sharing these photo highlights of your progress with us.
I just ran across your web site, I marvel at your talent! Could never do that! I would love to learn how in a class. Why do all the cool classes have to be on the coast, not the Midwest. Anyway your work is awesome.
there's no link to find the part one of this tutorial.. thank you
Reem -- just click on the "previous post" at the bottom of the page. Part One is the post just before this one.
Excelente el trabajo, me gustaria aprender este arte
I've just found this treasure of a tutorial. Thank you so much you will never how very grateful I am to have found this. Thank you very much Arley.
Best wishes
Veronica.
Post a Comment